
Solving a likeness
This was going to be a talk at Hallam Art Group - but circumstances got in the way, and is now a blog post on the website.
When I took up art, I was interested in one question “Can I draw someone’s face well-enough, so that someone else can recognise who it is supposed to be?”
This is what people mean when they use the work likeness.
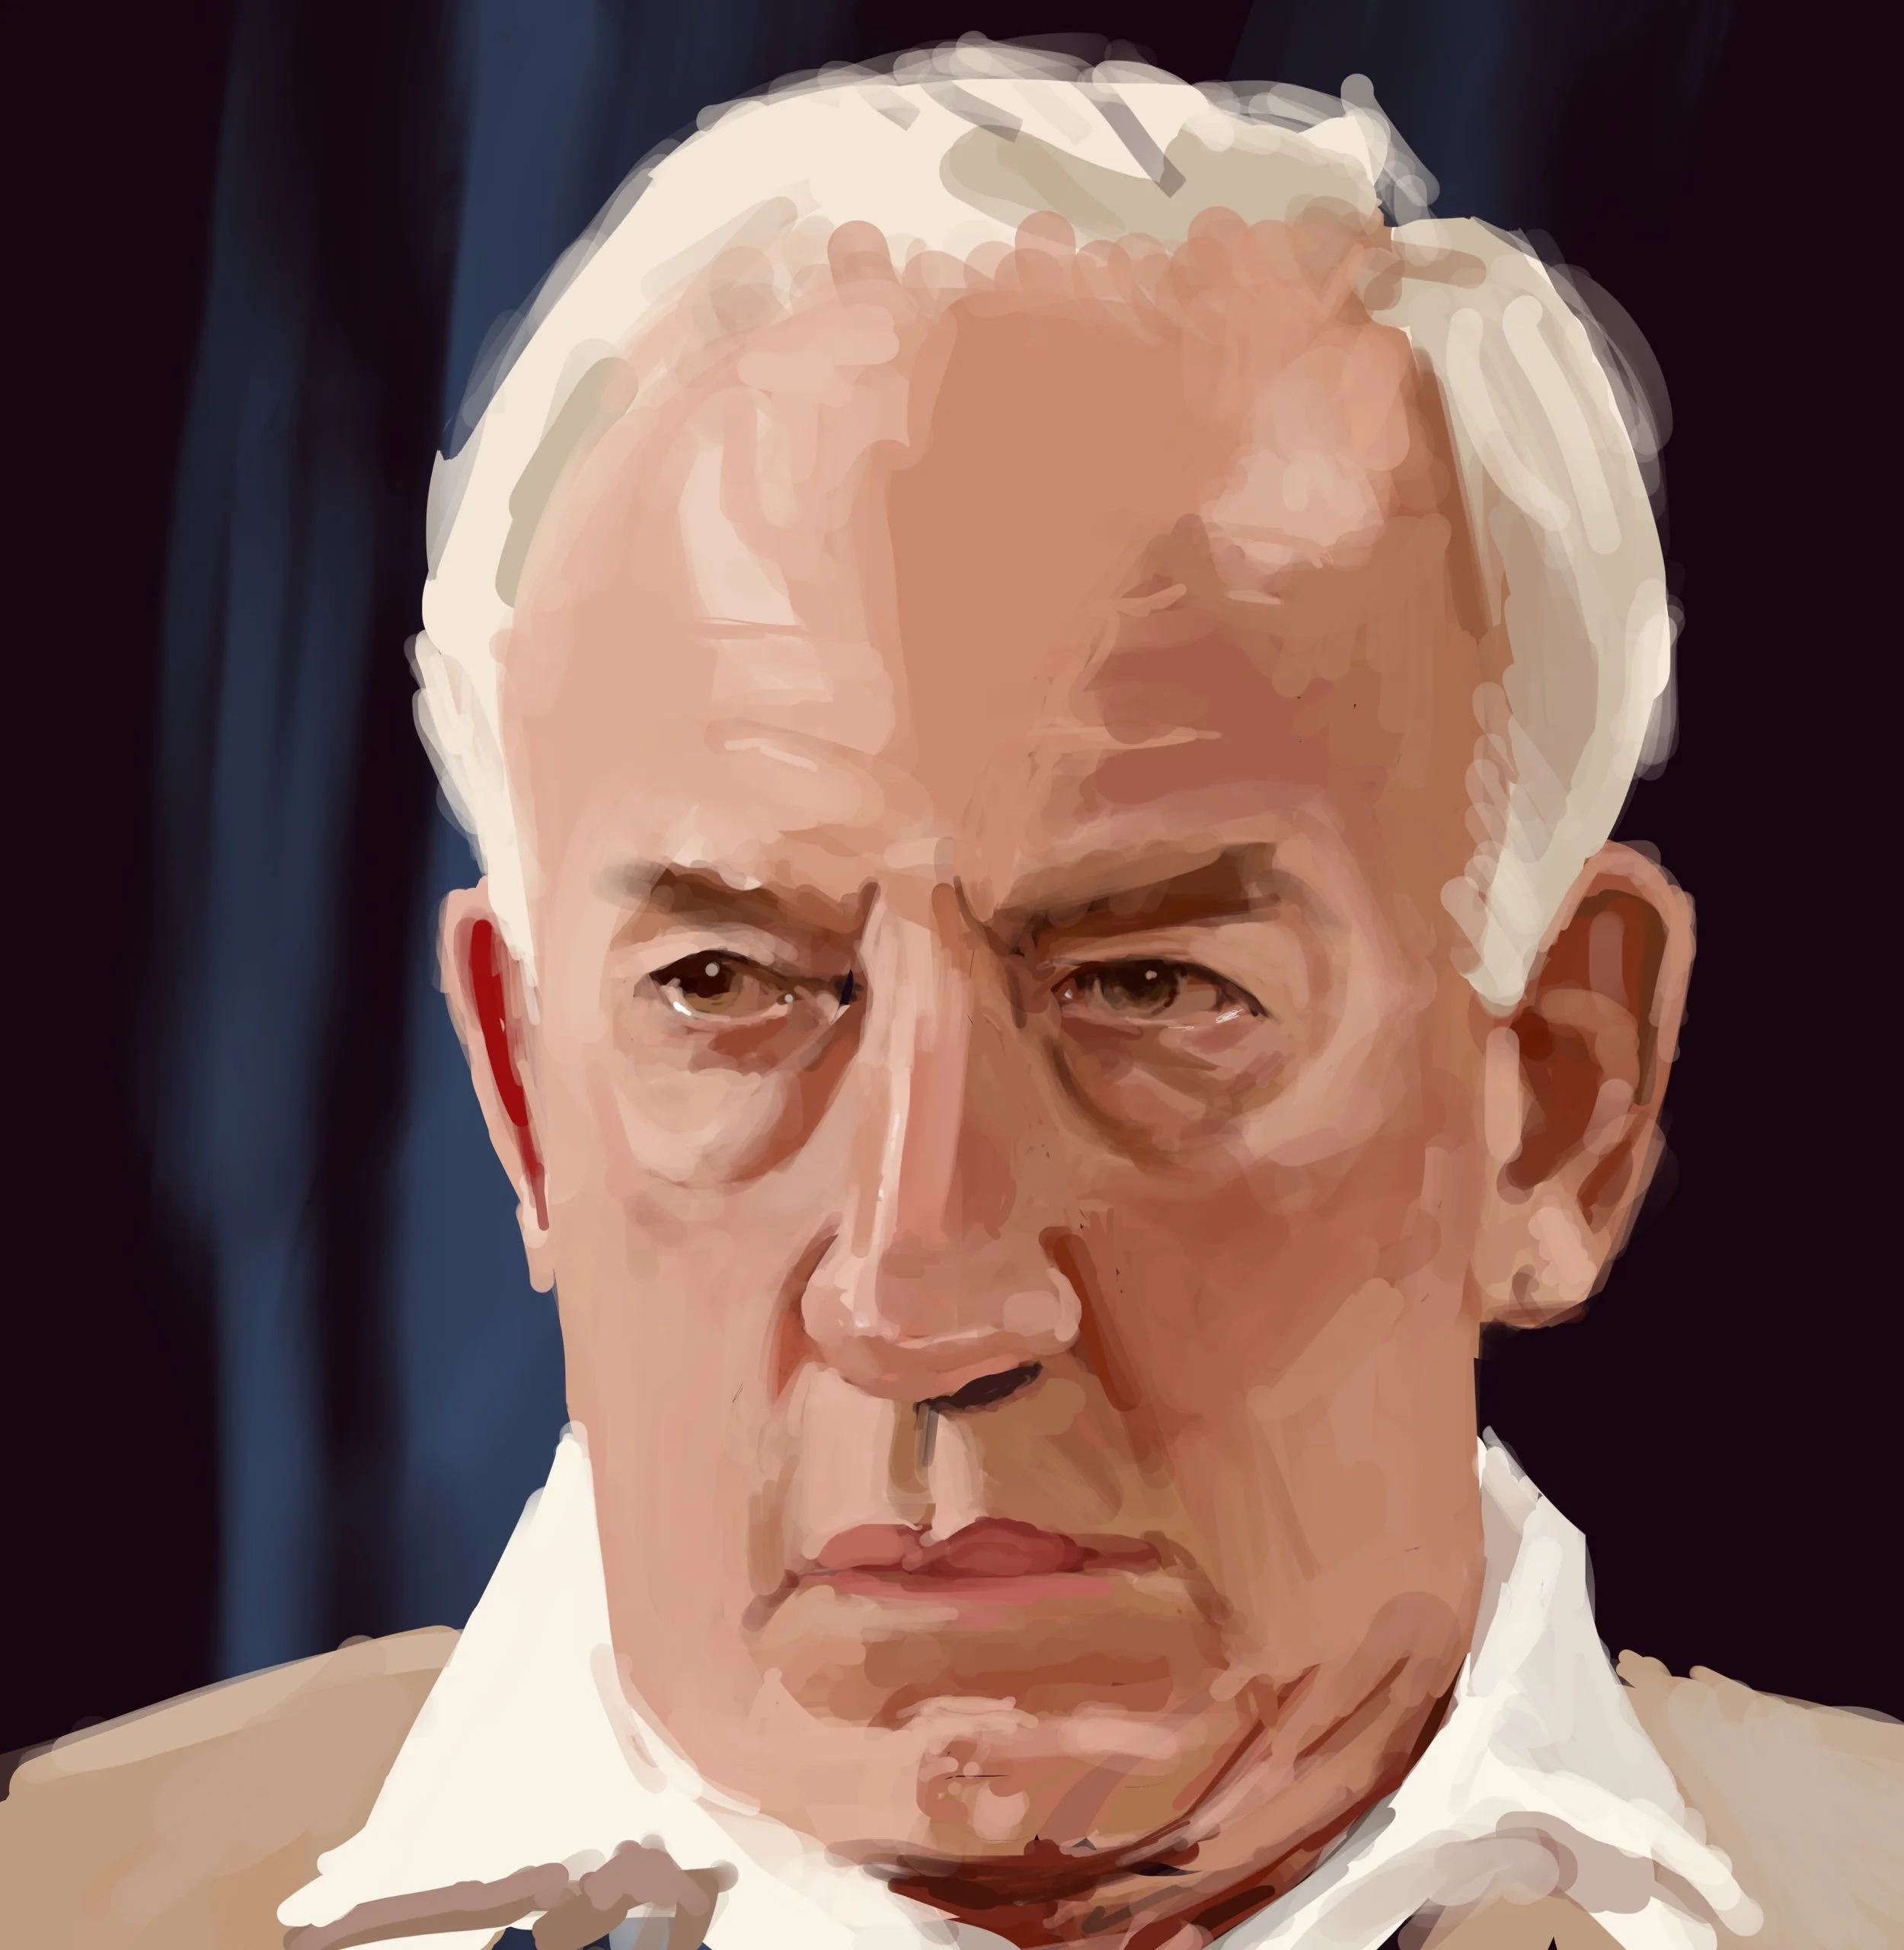
Simon Callow (from the TV)
This got me interested in Portrait Artist of the Year, and had me trying to draw a likeness of people on the TV.
I knew it had something to do with accuracy, but I wasn’t sure what that was.
I am definitely not an expert on getting a likeness. With a photograph in front of me, my drawing hit-rate is perhaps 80%. With a real person, it can be less.
There is no magic solution for everyone. Each artist finds a set of methods which work for them.
It’s helpful to look at the all the different solutions and find one which makes sense to you. At the end of this post are some links with different methods.
(And there are many many more) some which didn’t work for me, but they might work for you.
This talk was called “solving a likeness” - because like some O-level mathematics problem (that’s GCSE to our younger members) , we often find that getting one bit right, can help with getting other bits right. If everything goes right it all falls into place. And just like O-level maths, a mistake early on means you never get the right answer.
Quick sketch of Ricky Hatton has virtually no detail but is very easy to recognise.
Although accuracy is important, likeness does not depend on meticulous detail. It will not matter if a nose is precisely captured and beautifully rendered, if it is not in the right relationship to the mouth or the eyes.
In fact, a smudgy thumbnail portrait with virtually no detail whatsoever can create instant recognition, while a very careful line-drawing might be hard to recognise.
The likeness lives in the relationships between the features and in the shape of the entire head, rather than in the features themselves.
This gives us a big clue on how to solve a likeness:
We need to lay out the head and features with care
This is my method.
First without touching a pencil, look long and hard at your subject and try to observe the “vital statistics”
Is the nose long or short?
The distance between the nose and lip, long or short?
Do the eyes slope downwards?
Is the underside of the nose tilted upwards.
Is the mouth wide?
Are the lips full or narrow?
Are the eyes widely spaced?
Does the nose start to slope outwards between the eyes, or somewhere further up?
Having made mental notes of these facial parameters - it will inform your drawing later.

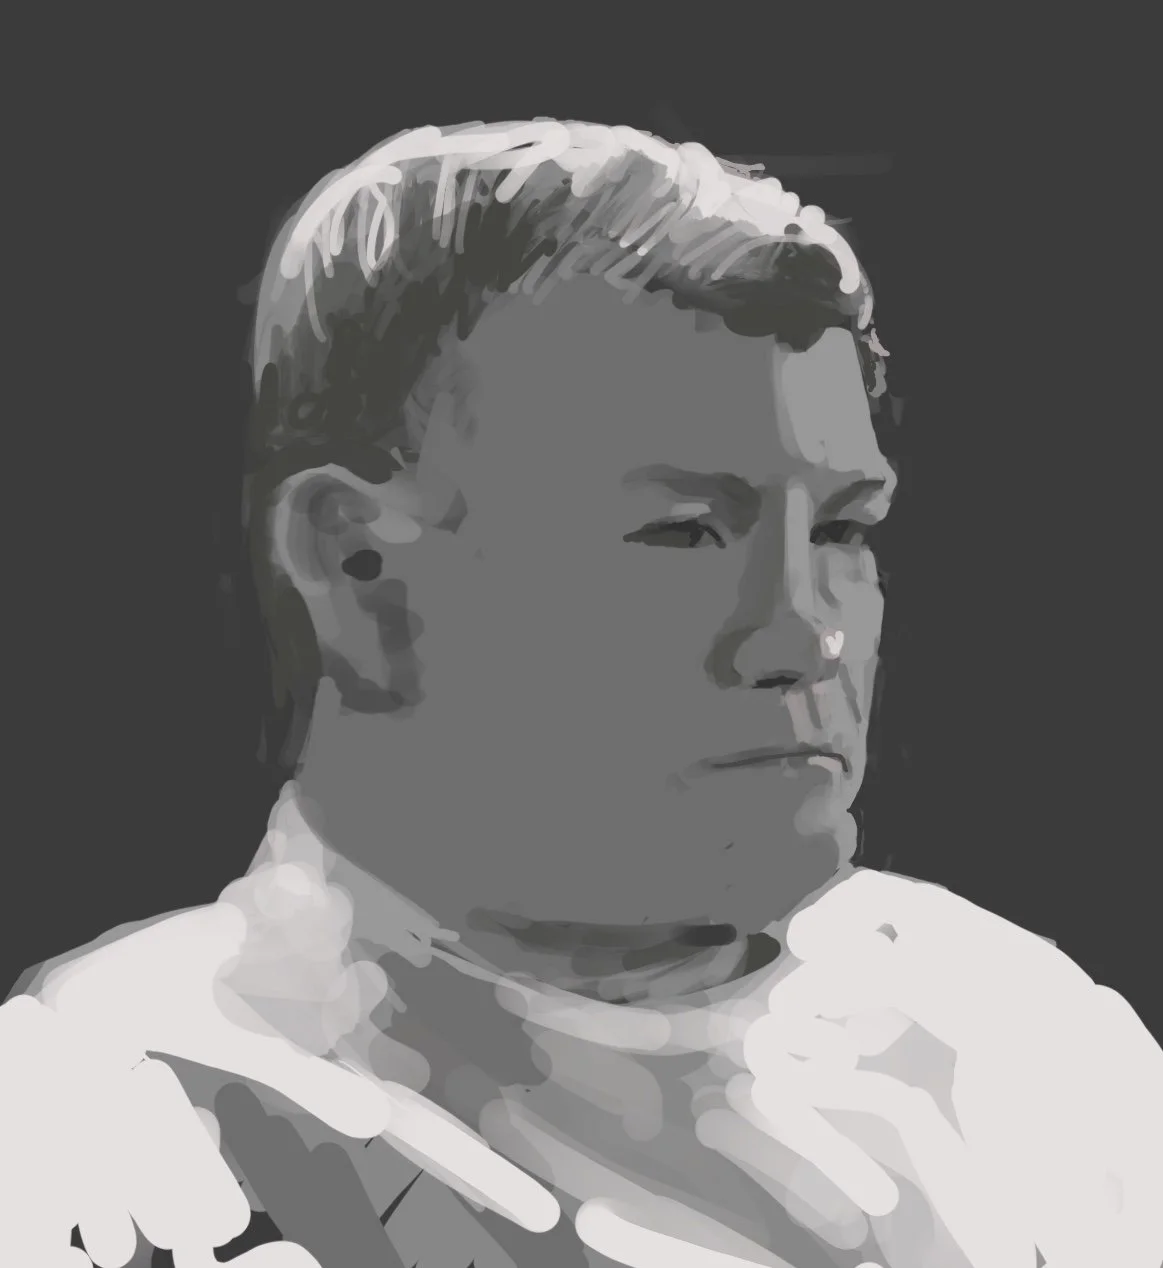
Initial block-in
Start drawing the overall head shape. Take time with this first step. Using straight lines is much easier.
It’s useful to start with a rough silhouette which includes the neck and perhaps some shoulder. You can cross check your line work by trying to spot various relationships. An extended shoulder line might hit the ear. The angle of the neck might be perfectly parallel to the lower face. It’s much easier to judge the angle of a line, than its length.
Simple tentative marks can be added to indicate the position of ears. Indicate the brow ridge, and a centreline down the middle of the face. You might tentatively place some marks to locate the mouth
It’s easy to misjudge how much space is above the eyes, and how much head volume exists behind the face and ears. If you frequently make the same sort of mistake, take time to make sure you have corrected your bias.
Tentatively add in the big shadow shapes. Use squinting to observe the tones.

First 5 minutes. Start adding shadow shapes
The shape of the head is described how light falls on it. So the big shadow shapes are the most important. Instead of drawing a nose, make marks to show the shape the shadow beneath the nose.
Place eye socket shadows, the shadow of the upper lip - the shadow below the lower lip. The shape of boundary between the lit portion of the jaw and the shadow under the jaw.
At this point we might be only five or ten minutes into the drawing.
Surprisingly, if the head silhouette is accurate, and a handful of big-shadow shapes are placed in roughly the right place, this early pass can be well on the way to capturing a likeness.
While working your way through a todo-list of bits-of-the-face to draw, it’s easy to forget to check your work. So flick your eyes back and forth between drawing and subject. If there’s a drawing error you might see it.
You may need to correct. This is often a case of tweaking the big shapes.
Portraits often go wrong. But they most frequently go wrong in the first five minutes. So it’s much better to fix errors at this early stage, than to press on.
It might even be better to start again!
If this initial layout of shadow shapes is on-track, the rest of the portrait becomes much achievable.
The rest of the portrait becomes an exercise in rendering: Adding more precise marks which describe features.
The two areas which require most attention are eyes and mouth.
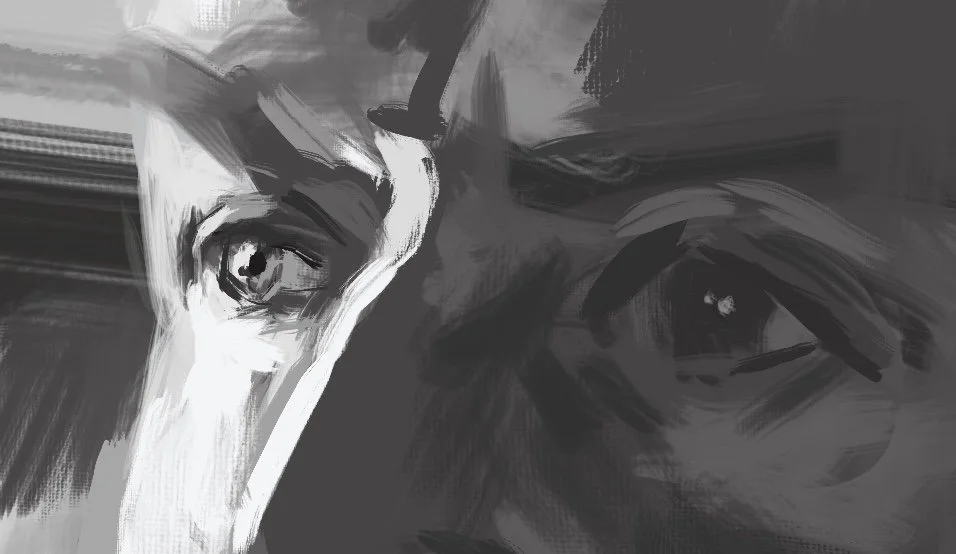
Drawing Eyes
The method to draw eyes is identical to the method we used to draw the face. Break down the shadow shapes largest first. So there will always be a shadow beneath the brow. But the upper eyelid will normally be lit. The upper lid is thicker than we realise, It will cast a hard shadow on the eyeball. This means the whites of the eyes are never white, the iris itself is a dark patch which will fuse with the eyelid shadow.
Both the eyelids and the brows are curves. It’s tempting to simply draw an arc to convey this. But that’s often an error. Better to look closely at the curve and spot where it is highest. It is often to draw curves accurately with straight lines.
There may or may not be shadow shapes below the lower lid.
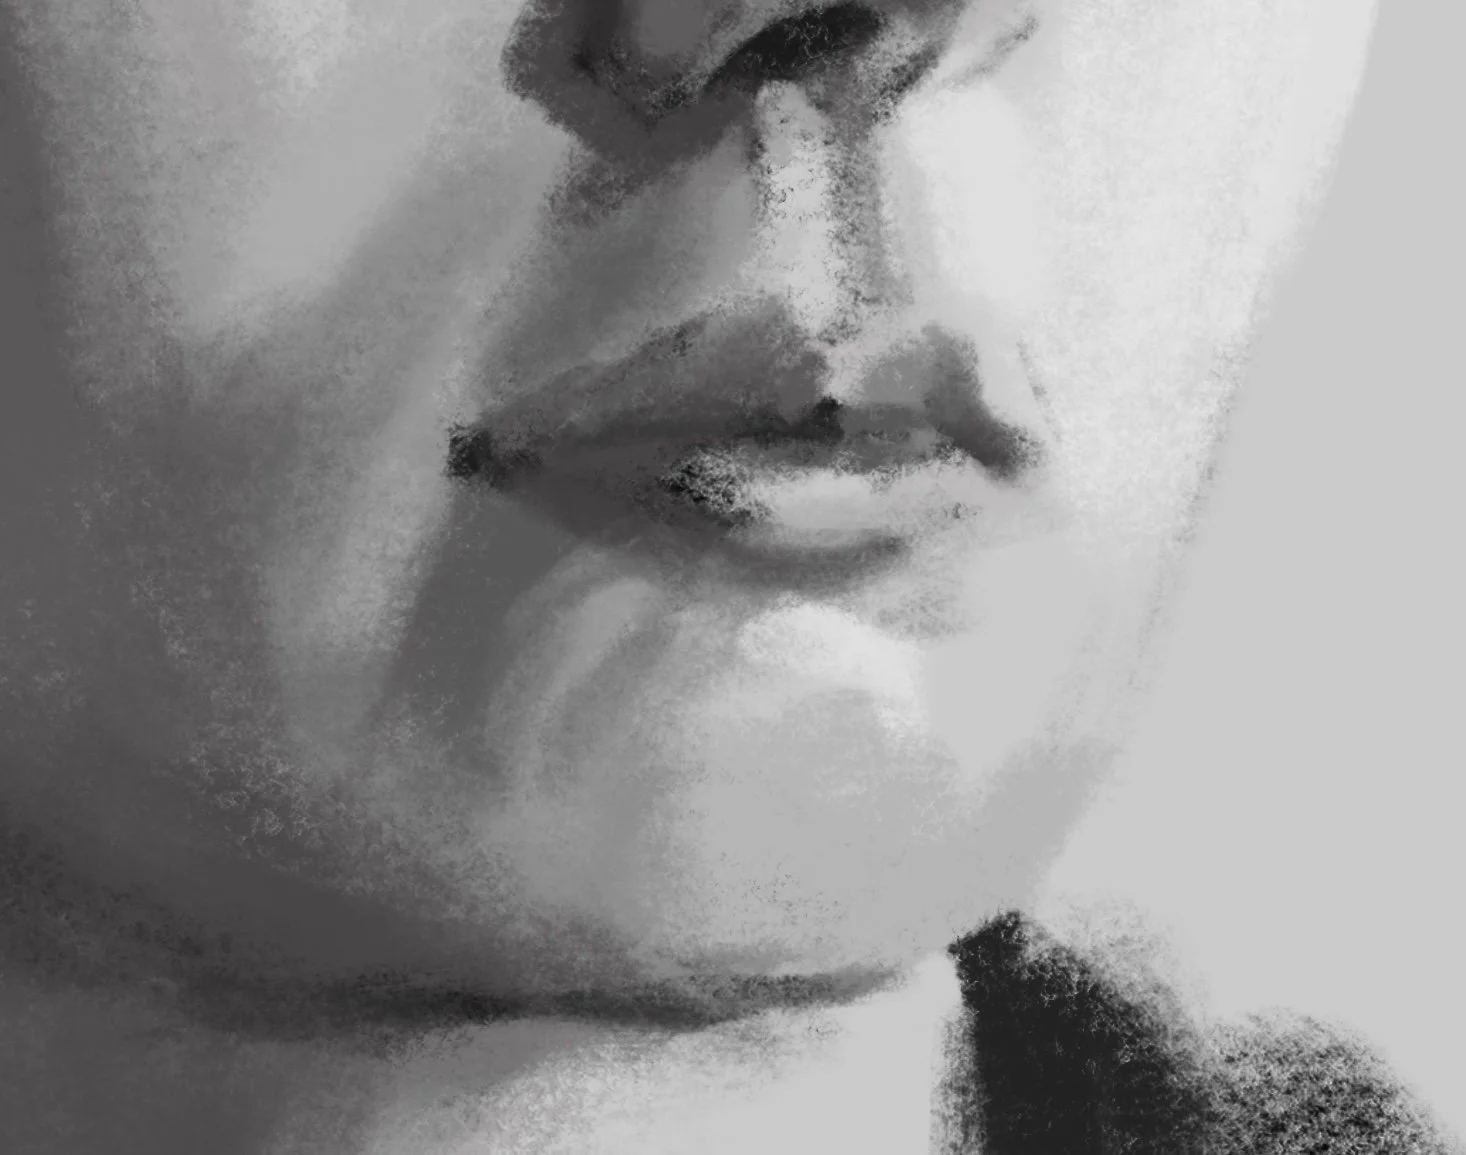
Drawing the mouth
Tackle the lips the same way. Mentally we visualise the mouth as a sort of horizontal slot across the face. But his mental model can mislead us. The mouth is wrapped around a curve of the jaw, so even a small turn of the head creates a very asymmetric shape. The filtrum (the channel under the nose) leads down the upper lip and creates the cupid bow in the middle of the top lip. Placing this correctly lets you draw the mouth as left and right halves. Again, start with the shadow shapes. Don’t draw the “lips”
So applying these methods will help you with getting a likeness. Of course you need to practice a bit to get comfortable.
From what I can tell, because most portraits go wrong in the first five minutes, your work will improve faster if you practice and stop after five or ten minutes, then start another. You learn more doing five ten minute portraits than one fifty minute portrait.
Resources on YouTube
Stephen Bauman - Shows how to block in a portrait.
Stephen is great. He emphasises the importance of the initial block-in. My method differs in that I start adding value much sooner. The reason I do this, is that I can’t assess the accuracy without some areas of tone.
https://www.youtube.com/watch?v=q9YKQQo9zeI
The Loomis method is a formula for drawing heads, developed by an American Illustrator Andrew Loomis. This is an “analytical model” which approximates a head shape as a “flat sided sphere with a jaw”
This method does not work for me, but it might for you.
https://www.youtube.com/watch?v=wAOldLWIDSM
Jeff Haines seems to think about portraits the same as me. Or perhaps I have come to think the same as him
https://www.youtube.com/watch?v=1abror2vtT8
This video covers the Van Eyck-Z. - a Z-shaped relationship between eyebrow, and nose which is one relationship essential for likeness
https://www.youtube.com/watch?v=3rpacjEKdQw
And a more complete method is this “elastic X” - same thing but includes the mouth
https://www.youtube.com/watch?v=_Ll5Wt3g5xY
Of course if you want a zero-risk solution - you can always use a grid.
This is quite a lot like tracing, but if you watch Portrait Artist, plenty of artists will use a grid to take away the risks of freehand drawing.